

Framework overview and immediate priorities
This framework focuses on practical steps to move from brand brief to installed digital asset while controlling schedule and satisfying building codes. Start by mapping the visual identity needs against functional constraints—screen size, enclosure finish, and mounting type—then overlay regulatory checkpoints. Early alignment with procurement reduces surprises for enclosure fabrication and lead times. A working link to product references helps communicative clarity: digital wayfinding signage.

Step 1 — Scope, BOM, and technical spec sheet
Write a compact bill of materials (BOM) and a two-page technical spec for each kiosk. Include display type, touchscreen capability, power draw, enclosure material, and mounting bracket details. Define acceptance criteria: display brightness (nits), ingress protection (IP) rating, and ADA compliance requirements. This becomes the single source of truth when you request vendor quotes or raise purchase orders.
Step 2 — Code matrix and site readiness
Create a code matrix that maps local building codes, fire egress, and accessibility mandates to the kiosk footprint and finish. Include column entries for plan submittal needs, required permits, and an on-site structural review. Use a site survey to record clearances, conduit access, and environmental exposure; treat this as a discrete deliverable before ordering fabrications. Many airports and transit hubs—Hartsfield-Jackson Atlanta International Airport is often cited as the world’s busiest—require standardized wayfinding hardware and formal plan reviews, so factor those regulatory lead times into your schedule.
Step 3 — Prototype, enclosure design, and validation
Build a single prototype unit or a reduced-cost mockup for mechanical fit and finish checks. Verify touchscreen response, enclosure tolerance, and the final finish against brand guidelines. Test the prototype under realistic lighting for sightline and contrast. Validate thermal performance and cable routing in the enclosure; overheating kills uptime. A prototype saves weeks that would otherwise be lost to rework during the production run.
Step 4 — Supplier selection and lead-time mapping
Assess suppliers on three axes: technical capability, production capacity, and documentation discipline. Ask for a manufacturer’s lead times, production cadence, and change-order policy. Produce a lead-time map that ties each BOM line to a calendar duration—screen procurement, custom cabinet fabrication, painting, and final QA. Maintain a prioritized critical-path list so one delayed enclosure or a long-lead display doesn’t stall the whole rollout. For reference products and integration patterns, consider vetted systems like digital wayfinding signs, especially when timeline certainty matters.
Common mistakes and mitigation tactics
Teams often conflate visual design with installation constraints. Avoid late-stage aesthetic swaps that trigger rework of the enclosure or new permits. Neglecting a mounting bracket load calculation creates site delays—verify structural anchors during the site survey. Another frequent error is underestimating lead times for custom finishes; reserve buffer weeks for powder coating and touch-up. Keep one person accountable for the BOM and another for the site deliverables—separate responsibilities reduce rollout friction.
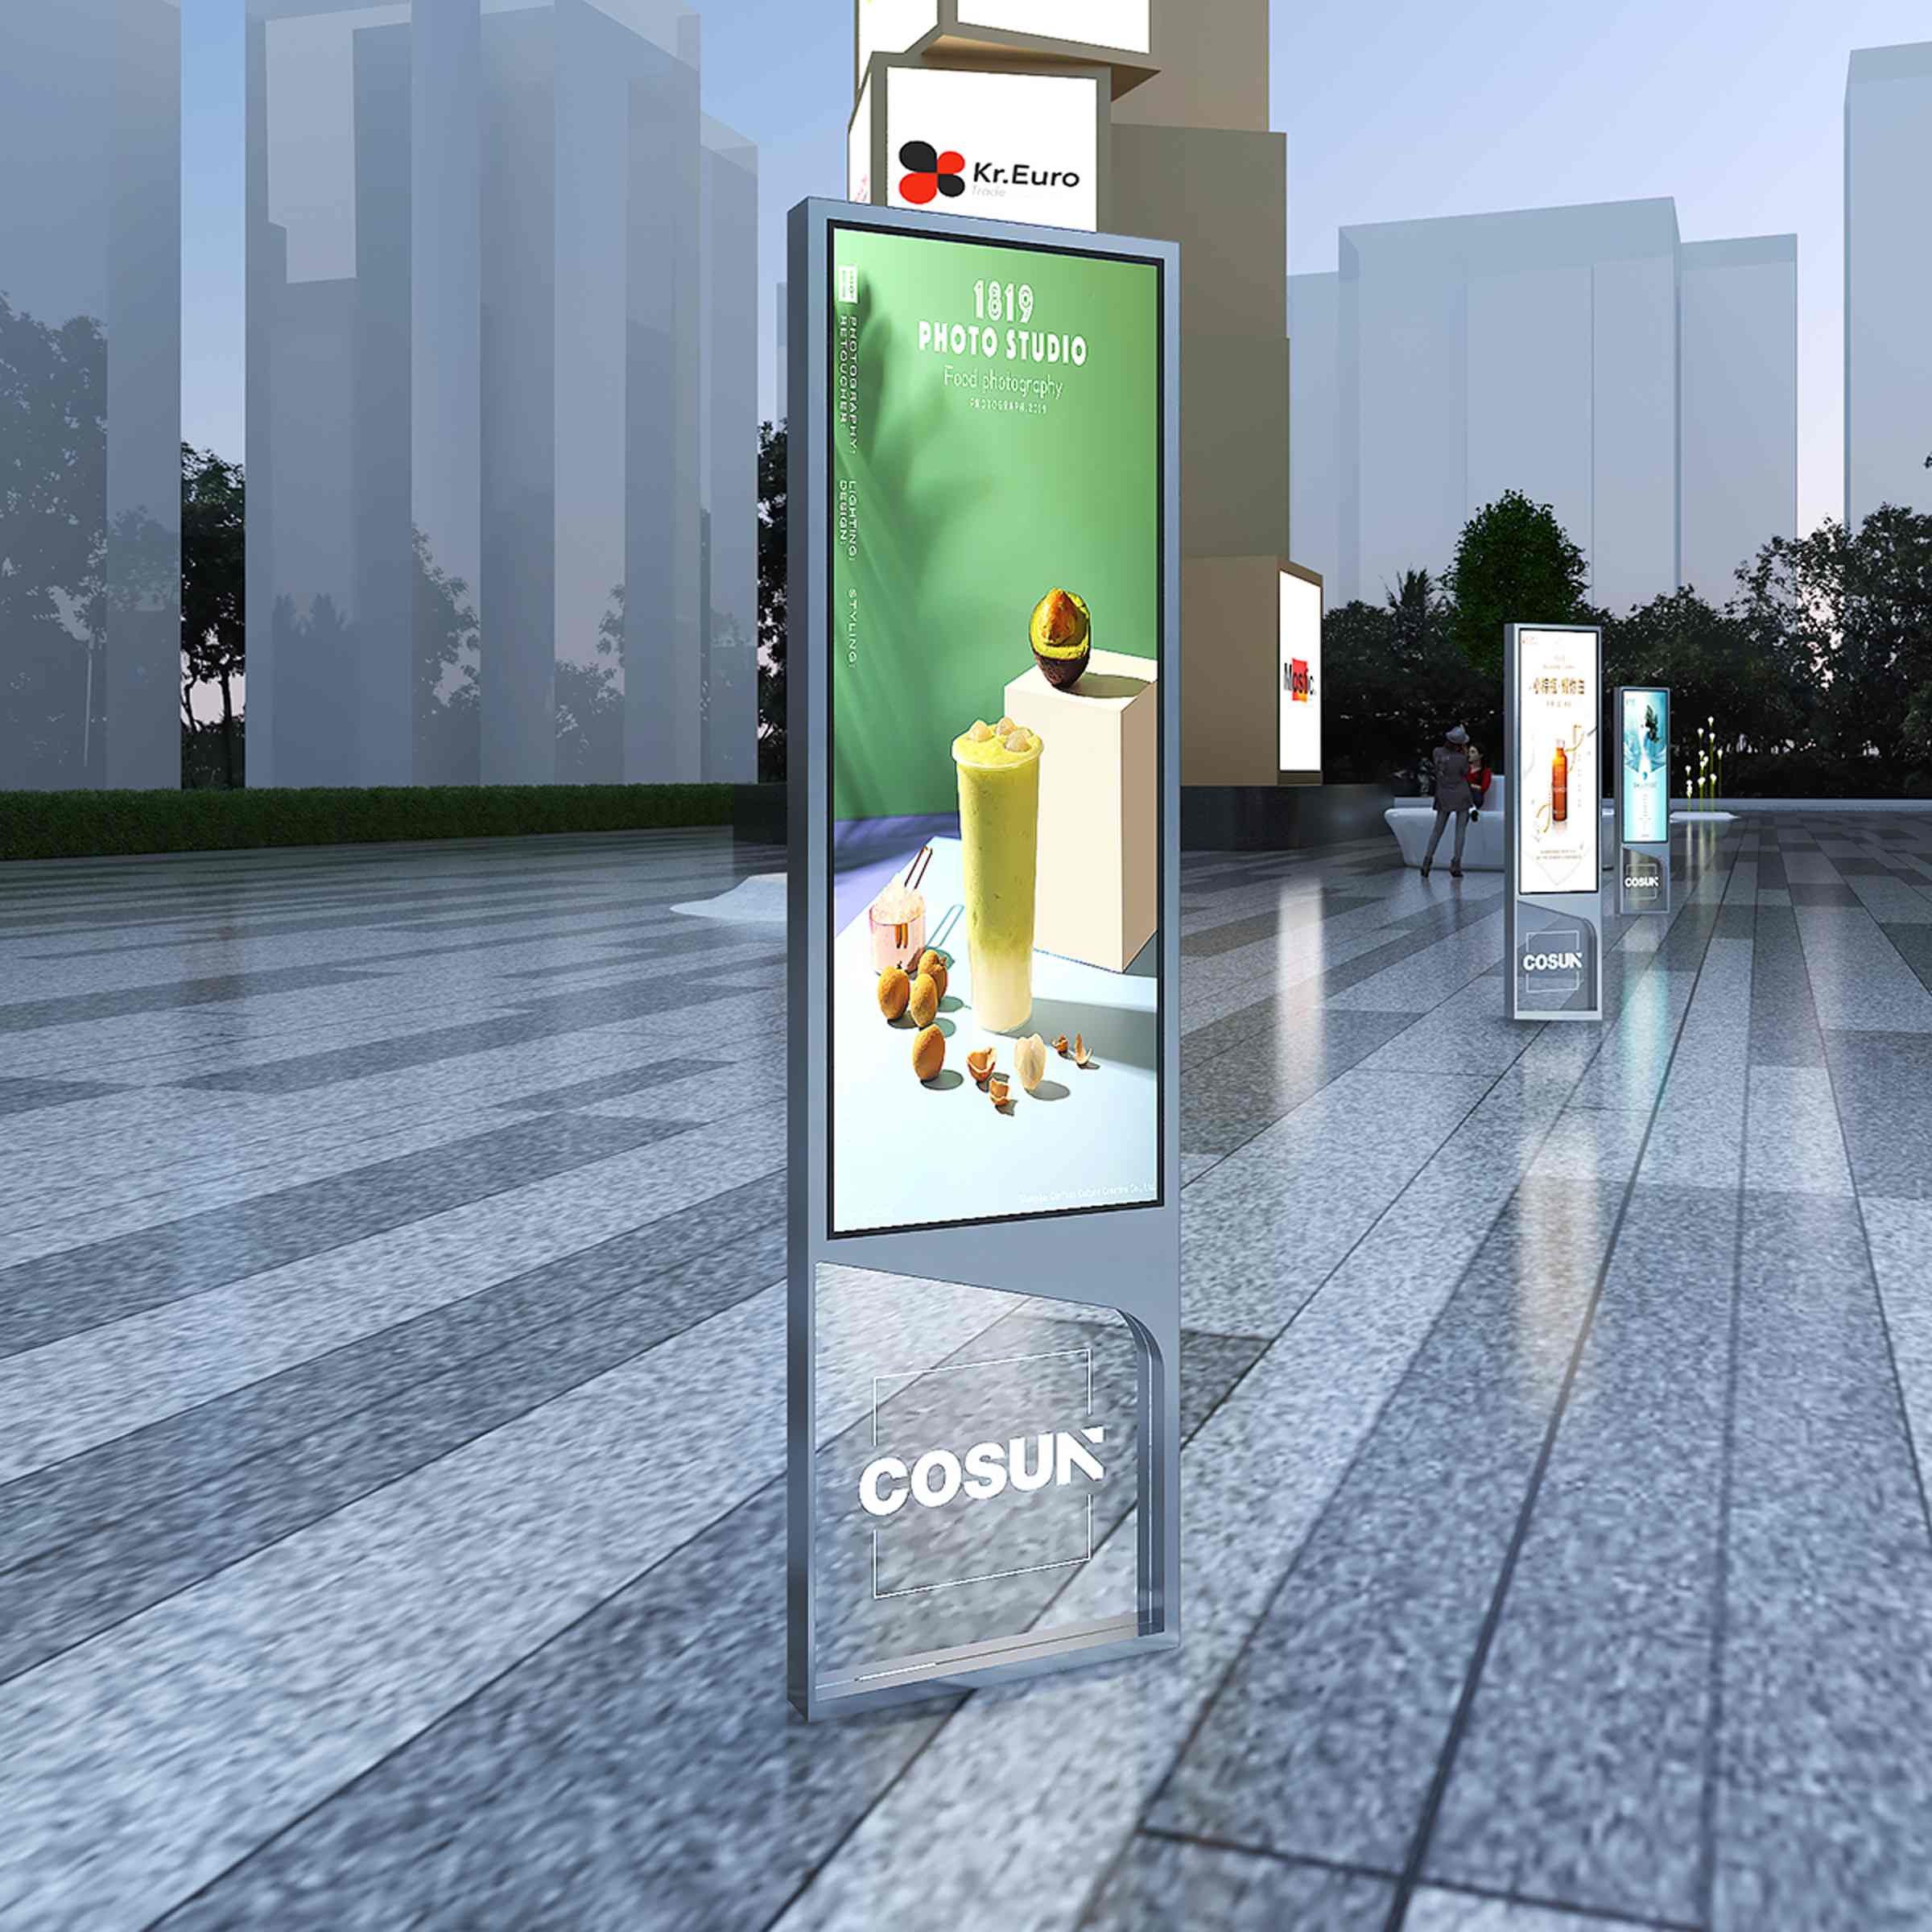
Procurement checklist and integration notes
Use this checklist during RFP and onboarding: 1) Signed technical spec and BOM; 2) Site survey report with photos and conduit maps; 3) Prototype sign-off; 4) Permits and plan approvals; 5) Production schedule with milestones; 6) Delivery and staging plan. Include integration items like signage software compatibility and network provisioning early so the kiosk is more than hardware—it’s a node in a wayfinding system. Keep versioned documents for every change; traceability reduces disputes.
Real-world anchor and measured outcomes
In large transport hubs where standardized wayfinding is critical, synchronized planning cut installation windows by measurable margins. When a program aligned BOM, prototype approval, and permit submissions, rollout shifted from a 14-week uncertainty band to a predictable 8–10 week delivery window—reduced variance, not just shorter average lead time. Those results come from disciplined scope control and supplier mapping.
Advisory — Three golden rules for selection and scheduling
1) Prioritize early site validation: lock physical constraints before ordering any custom enclosure. 2) Quantify critical-path items: tag every BOM line with a lead-time and mitigation plan. 3) Require a prototype sign-off tied to approval gates for finishing and software integration. These metrics ensure procurement decisions translate into on-schedule installs and maintain brand integrity.
Cosun Sign fits naturally into that workflow as a provider with cataloged products and documentation that streamline spec-to-install—so your timeline isn’t a guess. Final note—keep the BOM tight, keep approvals serial, and keep one person owning the schedule.
—