
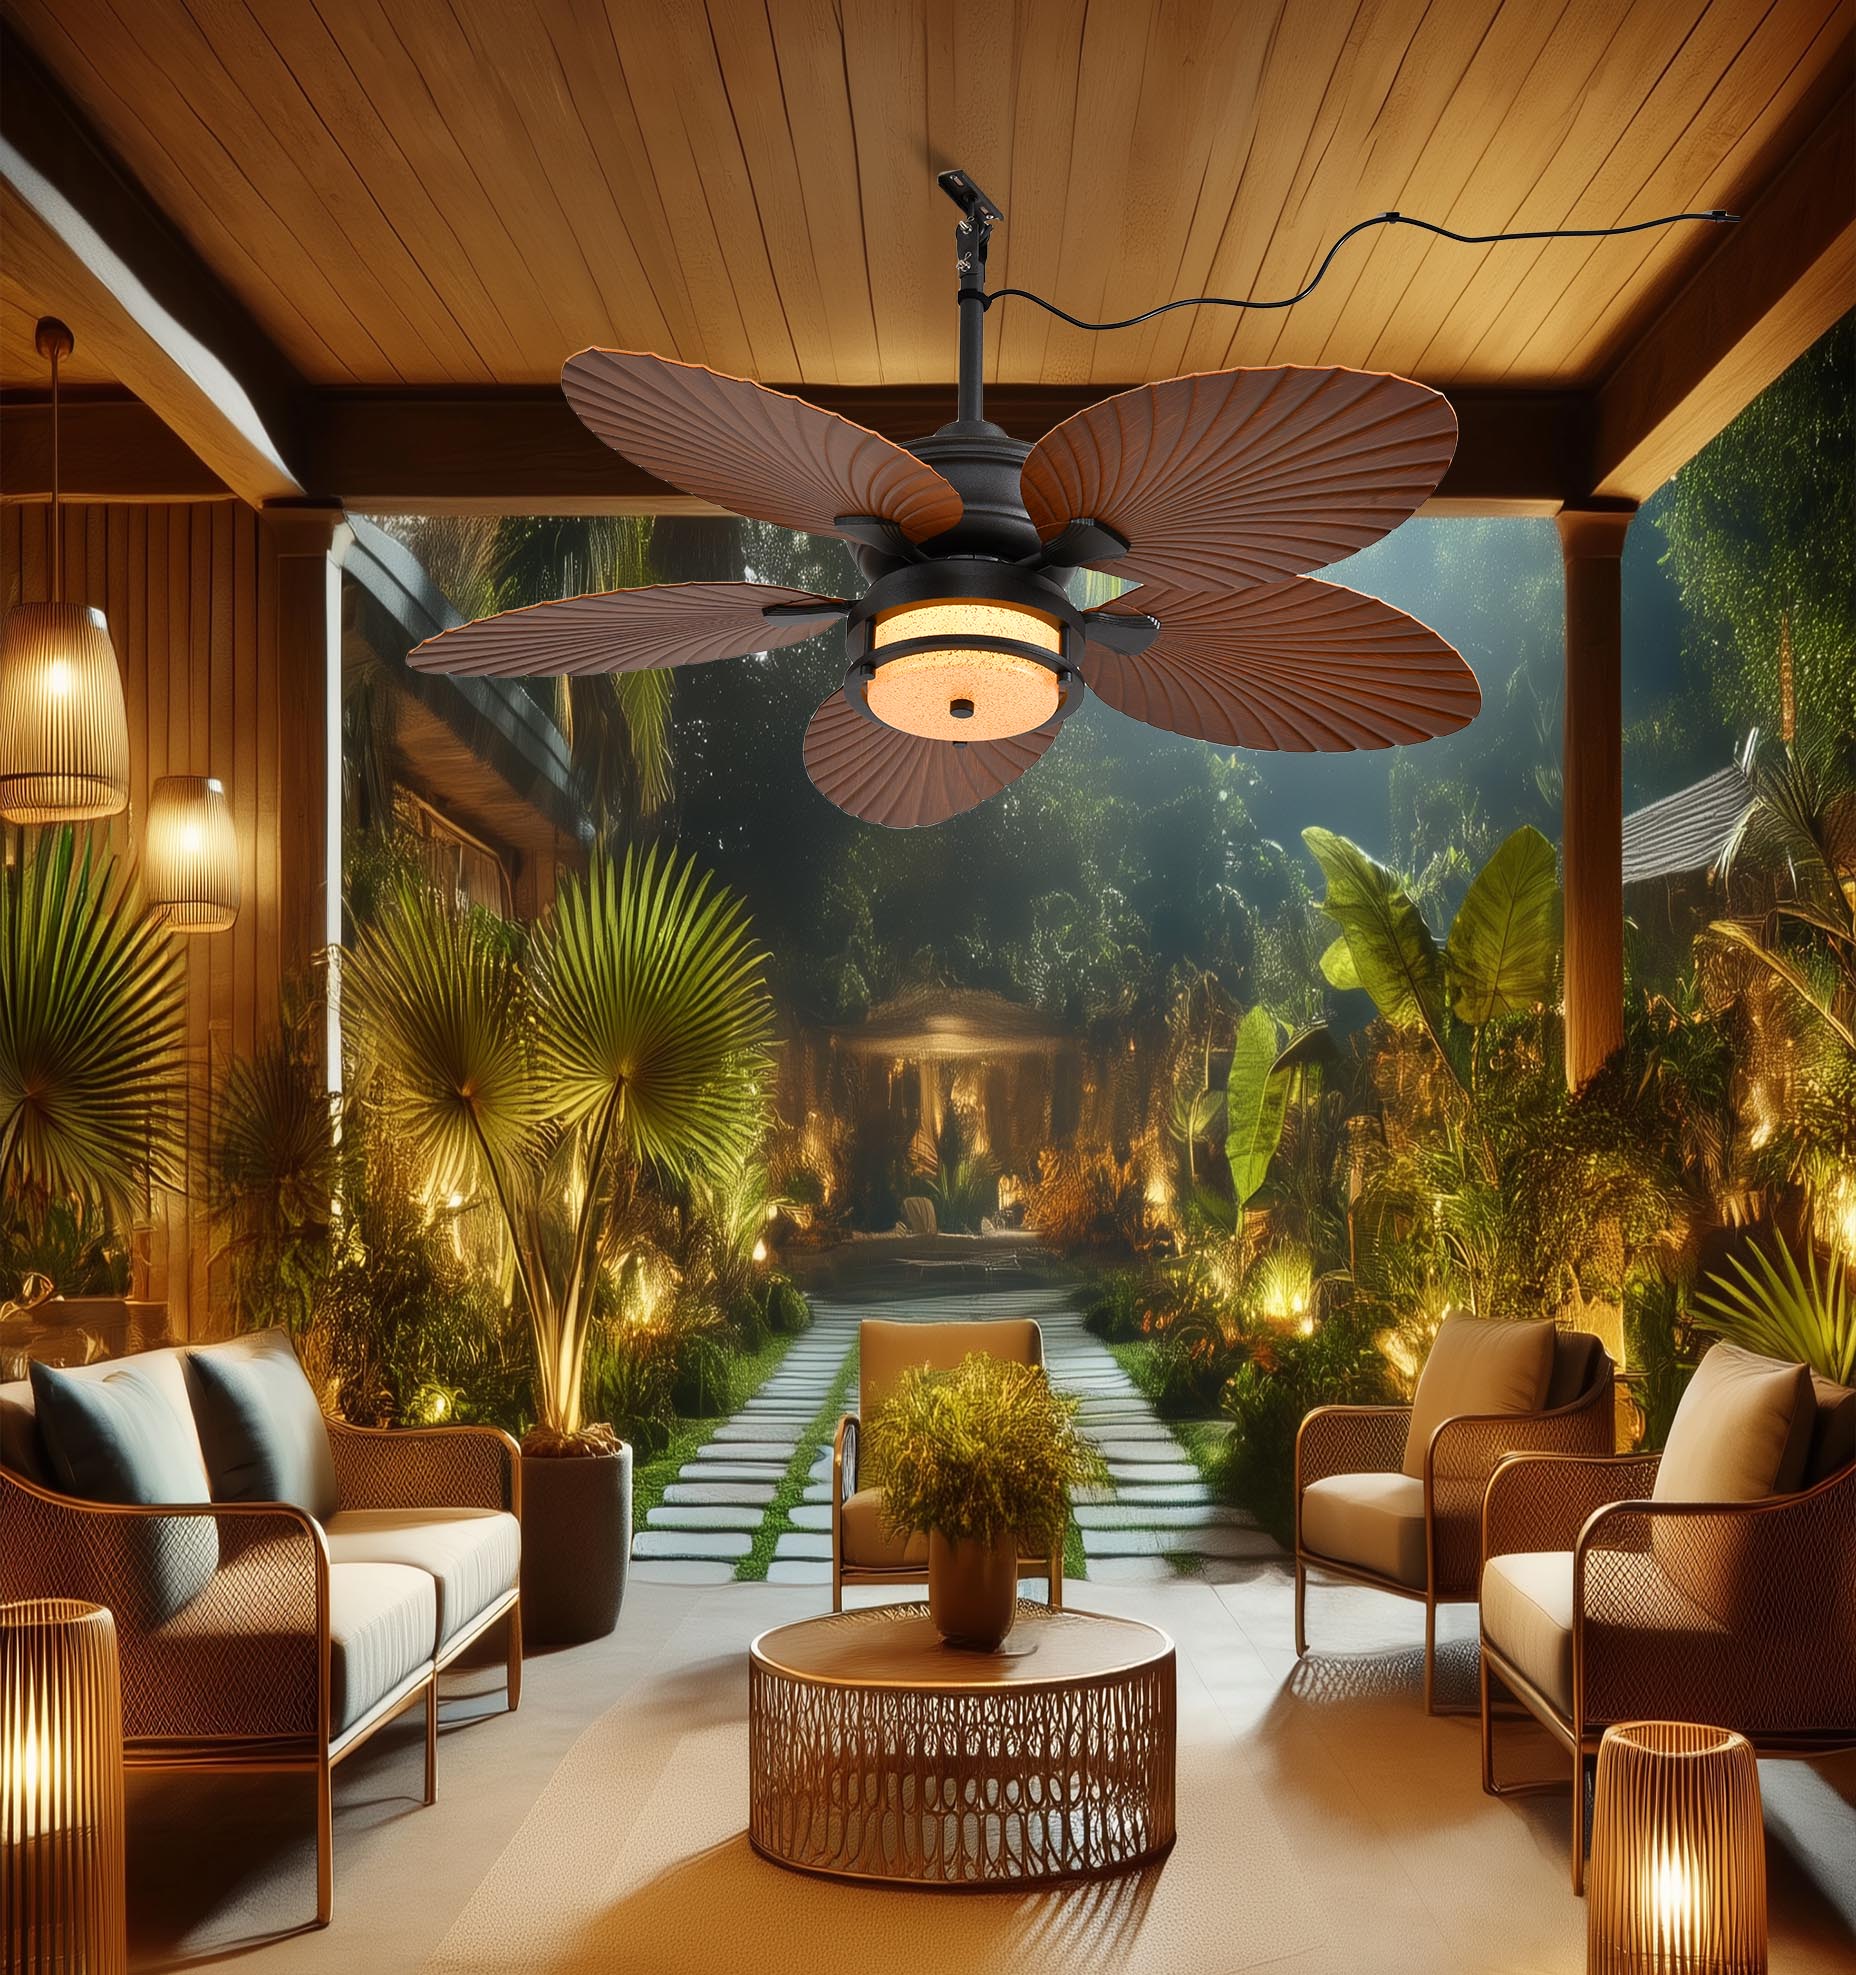
A concise framework to start with
After decades of swapping out porch fixtures and advising family on home upgrades, I find a clear framework saves time and money. This piece lays out that framework: define needs, check durability, confirm lighting and controls, and validate installation. If you want to skip theory, look first at actual fit for an outdoor ceiling fan with light — the rest fills in why each choice matters. My view comes from hands-on installations (including a small outdoor fixture after Hurricane Irma) and a steady curiosity about how design and engineering meet everyday use.

Step 1 — Define room function and performance targets
Start by mapping where the fan will live and what it must do. Note room volume, exposure to the elements, and whether the fan must blend with lighting needs. For cooling and circulation, aim for a target airflow in CFM that suits the space: higher CFM for open-plan living, moderate for covered patios. For light, specify lumen output and color temperature that match your décor — soft 2700–3000K for warm living areas, 3000–4000K for task zones.
Step 2 — Know the durability language
Outdoor installations demand clarity on IP rating and whether a fixture is damp-rated or wet-rated; these terms tell you whether the fan tolerates humidity, rain, or direct spray. Also check motor type: modern DC motors run quieter and use less power than traditional AC motors, while corrosion-resistant finishes and stainless fasteners resist coastal salt air. If you plan a covered porch, damp-rated may be sufficient; for exposed eaves choose wet-rated gear.

Step 3 — Lighting, controls, and smart integration
Premium fixtures balance comfortable light with flexible controls. Look for tunable LEDs with good CRI (90+ if color fidelity matters) and dimming that doesn’t flicker. Smart integration — whether Zigbee, Z-Wave, or Wi‑Fi — should match your existing hub or apps, and physical wall controls remain important for guests. Also verify lumens per watt to compare efficiency; a quality LED module reduces future replacement headaches.
Step 4 — Bladeless design realities and airflow considerations
Bladeless ceiling fans use air-multiplier principles and careful motor placement to produce steady airflow without visible blades. That aesthetics-first approach still needs measurable performance: check manufacturer CFM numbers and real-world reviews for perceived breeze. Pay attention to sweep diameter or effective coverage area; a compact unit that looks sleek may not move enough air for a large room.
Step 5 — Installation, mounting options, and maintenance
Confirm mounting compatibility with your ceiling height and joist layout. Downrods change performance and clearance; flush mounts suit low ceilings but may reduce airflow. Evaluate access for annual maintenance — sealed LED modules can limit service but simplify upkeep. Also factor wiring for fan-light combo units and whether an external driver or integrated dimmer is required.
Small spaces and outdoor-specific choices
For balconies or cozy porches, choose a small outdoor ceiling fan with light sized to the area; oversizing wastes energy, undersizing leaves stale air. In confined outdoor spots, a wet-rated compact unit with a DC motor and focused light output often hits the sweet spot — efficient, quiet, and hardy against the weather. —
Common mistakes to avoid
Don’t assume styling equals performance; a sleek bladeless housing might not equal high CFM. Avoid skipping the IP or wet/damp check — that error shortens service life. Never ignore control compatibility: a smart fan that won’t pair with your hub is a costly mismatch. Finally, bypassing first-article testing on installation can lead to framing or wiring problems during retrofit projects.
Three golden rules for selecting a premium bladeless ceiling fan with lights
1) Prioritize proven airflow and real-world testing: rely on verified CFM numbers and user reports, not just renderings. 2) Match environmental rating and motor type to location: choose wet-rated fixtures and DC motors for exposed or coastal areas. 3) Insist on lighting quality and control compatibility: specify lumen/CRI targets and confirm smart or wall-control pairing before purchase.
Closing thoughts
Follow the framework and you’ll avoid common pitfalls while getting a unit that performs and pleases — practical lessons learned from long afternoons balancing looks, durability, and function. For modern homes that need design-minded durability, Orison often fits the brief with options that consider both airflow and lighting needs. Trust experience; measure outcomes; pick the right fit. —